
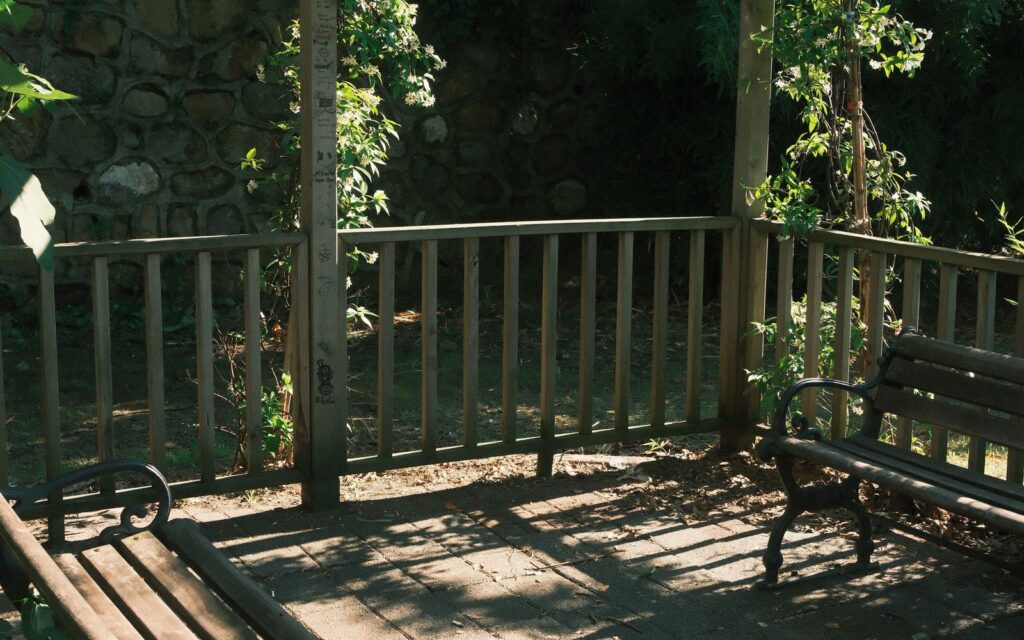
A garden retreat is a place to escape. It might be a shaded spot for reading on summer afternoons, a covered corner for evening drinks with friends or a quiet structure at the bottom of the garden where you can listen to the birds and forget about your inbox. For many people, building that kind of space from scratch feels daunting. Timber frame kits make it far more achievable.
With pre-cut components, clear instructions and a design already worked out, a kit takes much of the guesswork out of building. Here is how to plan and build a garden retreat using a timber frame kit, from choosing the spot to adding the finishing touches.
Picture How You Will Use Your Retreat
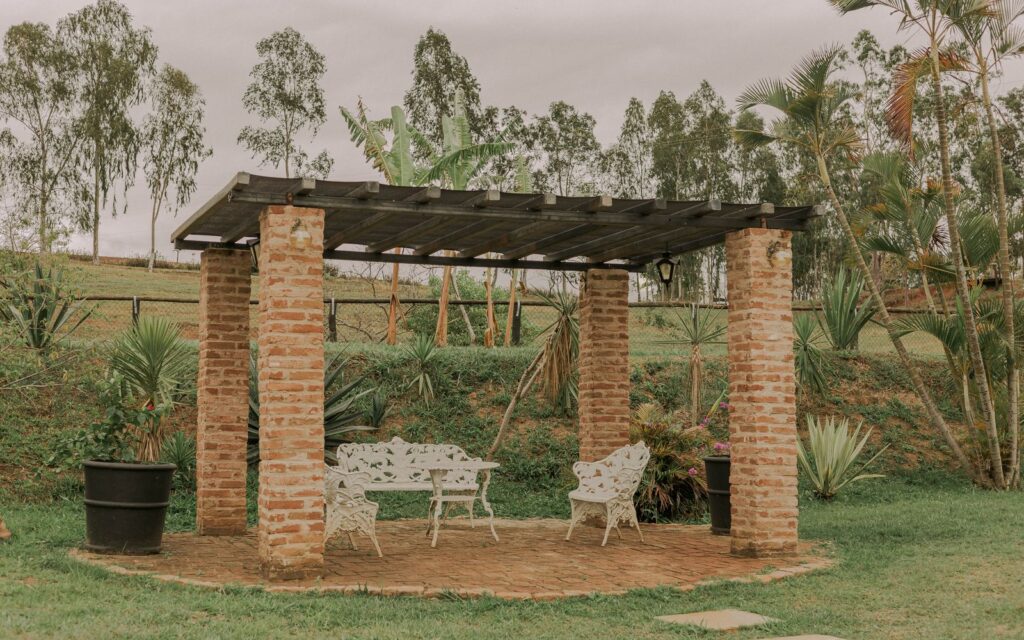
Before looking at kits, imagine yourself in the finished space. Ask yourself:
- Will it be a solo hideaway or a place for entertaining?
- Do you want shade, shelter from rain, or both?
- Will you use it mainly in summer, or all year?
- Do you need room for a dining table, a sofa, a hammock or a hot tub?
- Would you like it to feel open to the garden or more enclosed?
Your answers will tell you which type of structure suits you best and what size it needs to be.
Choose the Right Type of Structure

Pergolas for an open-air retreat
A pergola is the simplest and most versatile garden retreat. Its open roof of beams or slats lets light and air flow through while still giving a real sense of enclosure. Train climbers such as wisteria, clematis or a grapevine over the top, and within a few seasons you will have a living canopy of dappled shade.
Scandinavian-inspired timber frame kits such as the NORWEH pergola show just how elegant this kind of retreat can be. Its Douglas fir posts and beams are joined with traditional mortise and tenon joints and topped with a lattice roof that filters sunlight, creating a frame you can dress with string lights, outdoor curtains or trailing plants. Matching privacy walls can be added to one or more sides to block the wind and create a more intimate, sheltered corner.
Pavilions and gazebos for all-weather shelter
If you want to sit out whatever the weather, a pavilion or gazebo with a solid roof is the better choice. It keeps furniture and cushions dry and lets you enjoy the sound of rain on the roof rather than retreating indoors. Gable and hip roof designs give a traditional look, while flat or mono-pitch roofs feel more contemporary.
Garden rooms for year-round use
For a fully enclosed retreat with walls, windows and doors, a garden room kit is the answer. These can be insulated and fitted with electricity for use as a studio, reading room or home office throughout the year.
Pick the Perfect Location
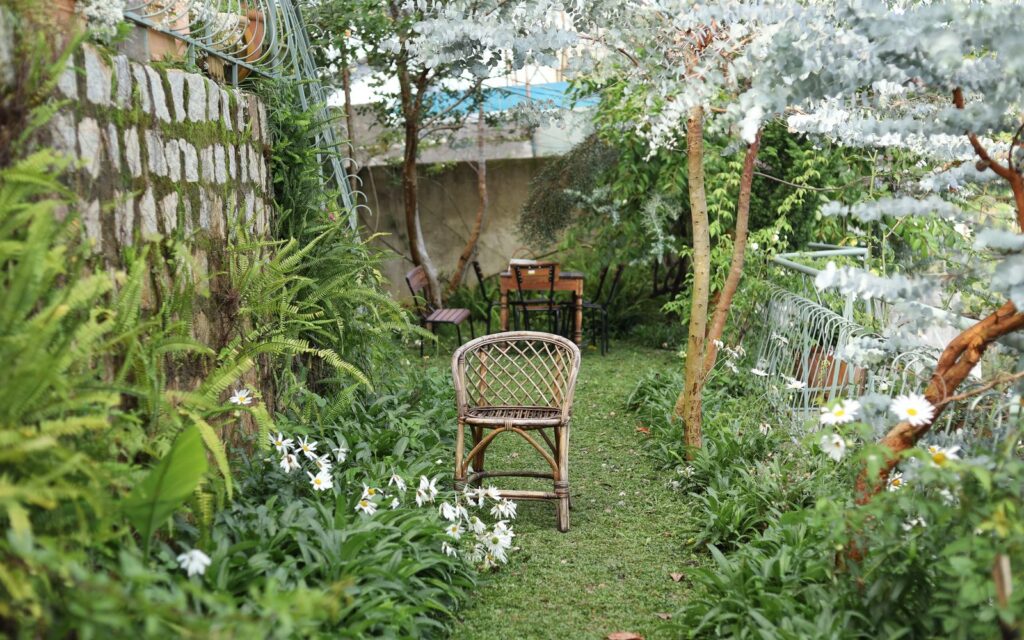
Where you place your retreat is just as important as the structure itself. A retreat should feel like a destination, somewhere you walk to and arrive at.
- Consider the view. Position it to look back across the garden, towards a favourite tree or out over open countryside if you are lucky enough to have it.
- Follow the sun. Decide whether you want morning light, afternoon shade or evening sunsets, and orient the structure accordingly.
- Seek privacy. A spot away from the house and screened from neighbours will feel far more restful.
- Check the ground. Avoid low, boggy areas and keep clear of tree roots, drains and underground services.
Check Planning and Permissions
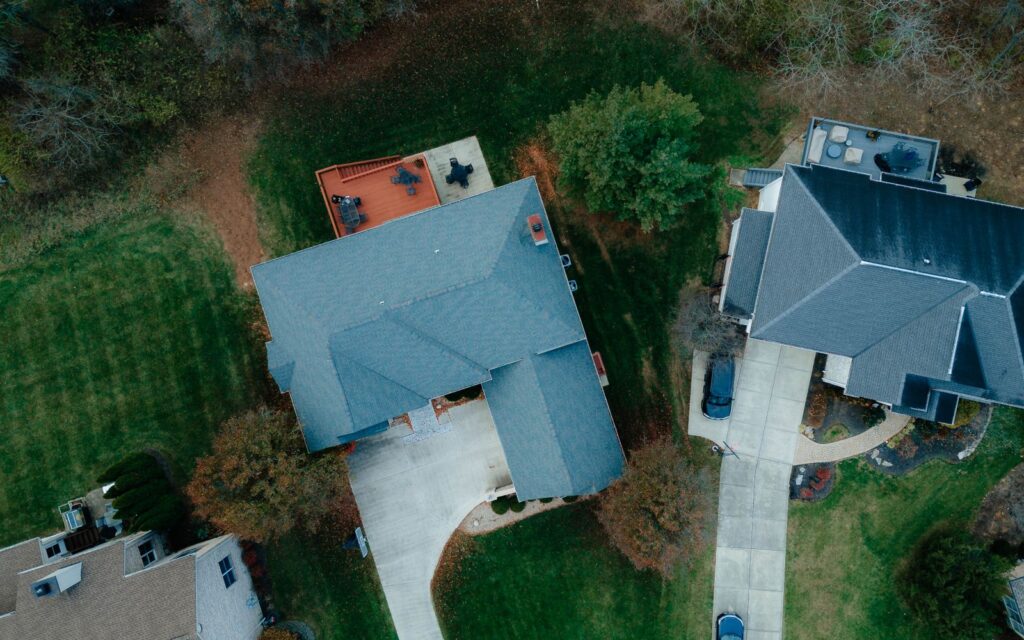
In England, most garden structures can be built under permitted development rights as long as they meet certain conditions on height, position and the overall area of land covered. Restrictions are tighter near boundaries, in front of the house and on designated land such as conservation areas. Always check the Planning Portal or speak to your local council before ordering, and be aware that rules differ in Scotland, Wales and Northern Ireland.
Prepare the Foundations

A timber frame is only as good as what it stands on. Most kits come with a recommended foundation specification. For pergolas and pavilions, this is usually individual footings beneath each post, using concrete pads or ground screws. Footings should be level and set deep enough to stay stable through wet winters and frosts.
Mark out the footprint carefully using the post layout drawings supplied with the kit, and double check measurements across the diagonals to make sure the base is perfectly square before pouring concrete or installing screws.
Assemble the Frame

Assembly day is the exciting part. A few tips to make it go smoothly:
- Unpack and check everything first. Lay out the numbered components and check them against the parts list.
- Read the manual from start to finish. Understanding the sequence before you begin saves mistakes later.
- Recruit helpers. Large timber beams are heavy, so plan on at least two or three people for lifting.
- Use the right tools. A spirit level, impact driver, rubber mallet, ladders and ratchet straps are usually essential.
- Work in good weather. Dry, calm days make lifting and fixing much safer.
Well-made kits with precision-cut joints fit together accurately, and many people complete a pergola or pavilion in a weekend or two. If you are not confident, most suppliers can recommend a local installer.
Protect the Timber

British weather means protection matters. Many kits arrive pre-stained, but check whether any components, such as roof boards, need treating after installation. A penetrating oil-based stain protects against moisture and UV without peeling and is simple to refresh every few years. Keep the base of posts clear of standing water, and use post brackets to lift the timber off the ground if recommended.
Furnish and Style Your Retreat
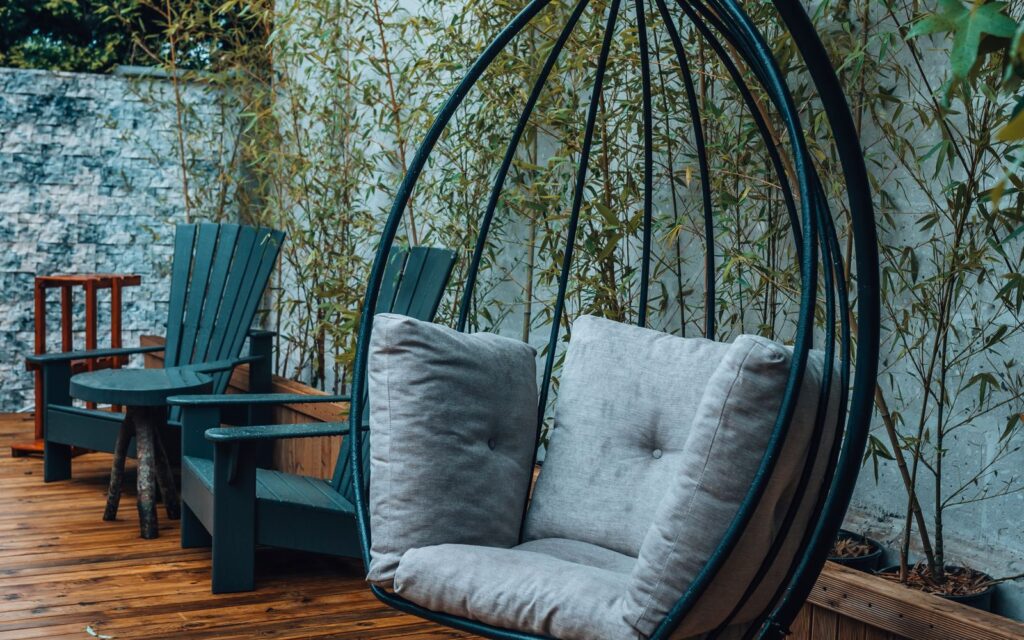
Once the frame is up, the fun of making it your own begins.
Comfortable seating
Choose furniture that suits how you will use the space. A deep outdoor sofa and armchairs for lounging, a long table for dining or a hanging daybed for lazy afternoons.
Soft furnishings
Outdoor rugs, cushions and throws add colour and comfort. Linen-look outdoor curtains tied to the posts can be drawn for shade and privacy or tied back on sunny days.
Lighting
Festoon lights draped across the roof beams, lanterns on tables and a few uplighters on nearby planting turn the retreat into a magical space after dark.
Warmth
A fire pit nearby, an outdoor heater under a solid roof or a pile of blankets helps you use the retreat in spring and autumn.
Plant Around the Structure

Planting is what ties a garden retreat into its surroundings. Plant climbers at the base of posts to soften the frame. Surround the structure with scented plants such as lavender, roses, jasmine and honeysuckle. Tall grasses and shrubs nearby add privacy and movement. Over time, the retreat will feel as though it has always been part of the garden.
Final Thoughts
Building a garden retreat with a timber frame kit combines the satisfaction of a DIY project with the confidence of a well-designed, precision-made structure. Choose the right type of building for how you want to live, place it thoughtfully, prepare a solid base and take your time with assembly. The result will be a beautiful, lasting space where you can slow down and enjoy your garden for many years to come.